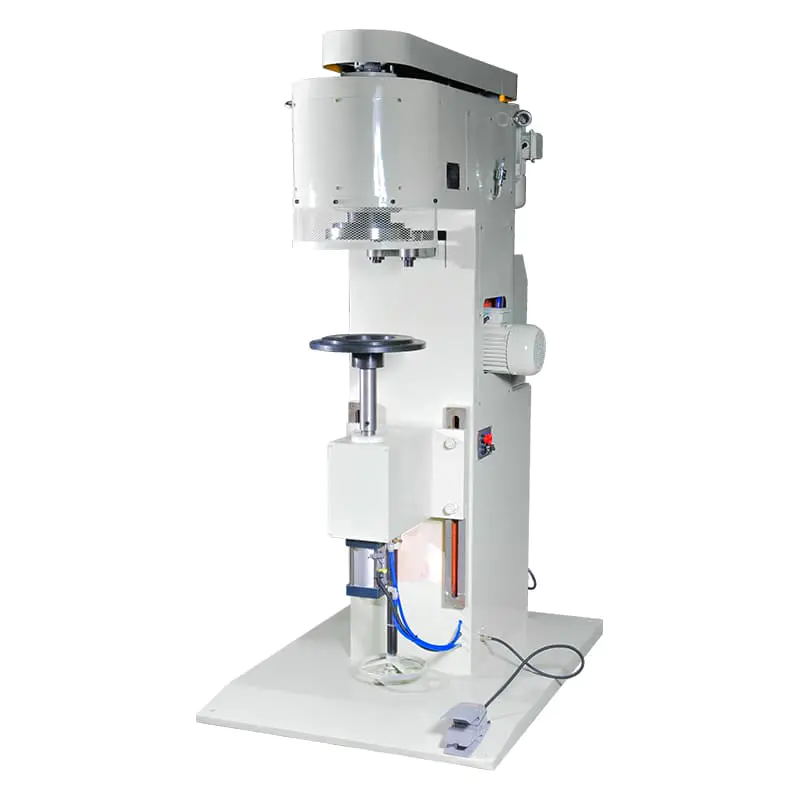
Using an automatic can seaming machine correctly involves four key phases: machine setup, parameter configuration, trial seaming and inspection, and continuous production monitoring. When each phase is followed correctly, the machine can achieve consistent double-seam quality at speeds ranging from 100 to 1,200 cans per minute depending on the model, with minimal operator intervention.
The machine integrates conveying, positioning, seaming, and inspection modules into a single automated line, making it the central piece of equipment in metal can, drum, and pail production.
Step 1: Pre-Operation Setup and Safety Checks
Before starting the machine, complete the following checks:
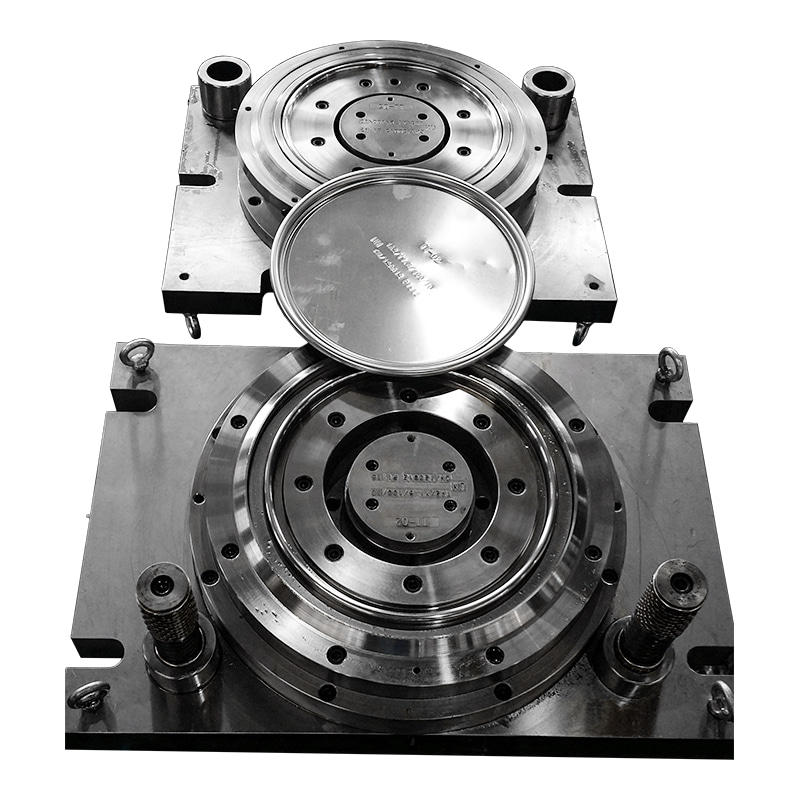
- Inspect seaming rollers: Check first and second operation rollers for wear, chips, or groove damage. Worn rollers are the most common cause of seam defects.
- Verify chuck and baseplate fit: Ensure the chuck matches the lid diameter and the baseplate height is correctly set for the can body height.
- Check lubrication: Apply food-grade lubricant to all specified lubrication points — cam tracks, roller shafts, and drive chains — as indicated in the machine manual.
- Confirm electrical and pneumatic supply: Verify that power input matches rated voltage (commonly 380V/3-phase) and that compressed air pressure meets requirements (typically 0.4–0.6 MPa).
- Clear the work area: Remove any debris, empty cans, or loose tools from the infeed, seaming, and discharge zones.

Step 2: Parameter Configuration via the Control Panel
Modern automatic seaming machines use PLC-based control panels with touchscreen interfaces. Key parameters to configure before production:
Key parameters typically configured on an automatic seaming machine
| Parameter |
Typical Range |
Impact on Output |
| Production speed |
100–1,200 cans/min |
Throughput volume |
| Seaming roller pressure |
Model-specific (servo-controlled) |
Seam tightness and integrity |
| Chuck rotation speed |
Synchronized with line speed |
Seam consistency |
| Lid feed timing |
Adjustable via servo |
Lid-to-body alignment accuracy |
| Rejection threshold |
Set per quality standard |
Defect catch rate |
Step 3: Trial Run and Seam Inspection
Always run a trial batch — typically 10 to 20 cans — before full production begins. Each trial seam should be inspected using the following measurements:
- Seam width (W): Measure with a seam micrometer. Compare against the specification sheet for the can diameter.
- Seam thickness (T): Excessive thickness indicates insufficient roller pressure; too thin indicates over-rolling.
- Body hook and cover hook length: Cross-section the seam and measure hook overlap. Industry standard requires a minimum overlap rate of 45–50%.
- Visual inspection: Check for droop, cut-over (sharp edge), false seams, or deadheads — each indicates a specific adjustment need.
Adjust roller pressure, roller gap, or seaming speed incrementally based on inspection results before proceeding to full production.
Step 4: Running Full Production
Once trial seams are confirmed within specification, initiate full production. During the production run:
- Monitor the infeed conveyor to ensure consistent can spacing and upright positioning — irregular spacing causes misfeeds and lid misalignment.
- Watch the lid feed magazine and refill before depletion to avoid dry-run cycles that jam the seaming head.
- Conduct periodic in-line seam checks every 30 to 60 minutes — sample 3 to 5 cans per check and measure seam dimensions to catch drift before it creates a batch rejection.
- Review the control panel's production counter and rejection log regularly. A sudden increase in auto-rejections signals a mechanical issue requiring immediate investigation.
Routine Maintenance to Sustain Seam Quality
Consistent seam quality depends on disciplined maintenance schedules. Key maintenance tasks:
- Daily: Clean seaming rollers and chuck surfaces to prevent compound buildup. Inspect rollers visually for wear or chipping.
- Weekly: Lubricate cam tracks, drive chains, and roller shafts. Check and tighten all fasteners on the seaming head assembly.
- Monthly: Measure roller groove wear using a profile gauge. Replace rollers when groove wear exceeds manufacturer's tolerance — typically 0.05 mm.
- Annually: Full overhaul of the seaming head, chuck, and drive mechanism. Calibrate all servo motors and verify control system parameters against factory baseline.


 +86 13666712509

 English
 русский
 عربى
عربى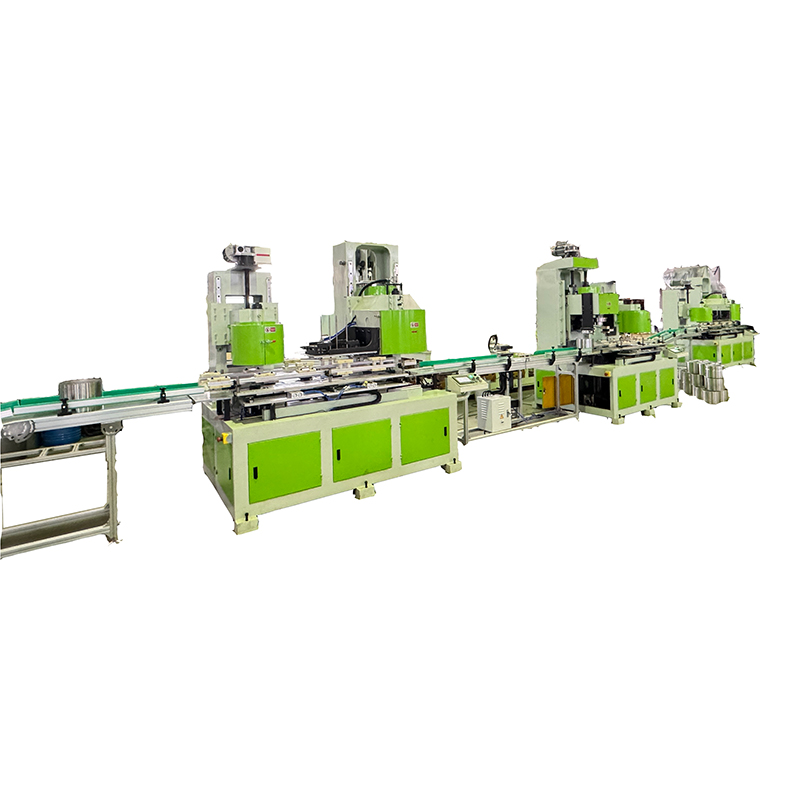


Contact Us