The production process for a 1–5L round can production line follows a sequential series of metal forming, joining, coating, and finishing operations that converts flat tinplate or steel coil stock into finished, leak-proof cylindrical cans ready for filling. The core sequence is: coil feeding and blanking → body forming and side seam welding → interior coating and curing → flanging and beading → bottom end seaming → quality inspection and palletizing. Each stage is linked by automated conveyors, and a well-configured line can produce 40–120 cans per minute depending on can size, sheet metal gauge, and equipment specification. The production line is used across the paint, lubricant, chemical, food, and agricultural sectors for packaging liquid and powder products requiring durable, pressure-resistant metal containers.
Stage 1: Raw Material Preparation and Coil Feeding
The production process begins with the incoming raw material — typically electrolytic tinplate (ETP) or tin-free steel (TFS/ECCS) in coil form, with sheet thickness ranging from 0.18 mm to 0.32 mm depending on the can size and required wall strength. Larger 4–5L cans generally use heavier gauge stock (0.25–0.32 mm) to provide adequate rigidity and top-load strength for stacking.
- Coil loading and unwinding — the tinplate coil is loaded onto a powered decoiler and fed through a straightener/leveler with typically 7–11 rollers to eliminate coil set (permanent curvature from coil storage) and produce a flat, stress-relieved sheet before blanking.
- Pre-printed sheet option — for cans requiring exterior decoration, the tinplate may be pre-printed with product graphics and varnished by the sheet metal supplier before delivery to the can line. Alternatively, the production line may incorporate an inline printing and varnishing station for smaller runs or frequent color changes.
- Sheet cutting / blanking — a high-speed press or rotary shear cuts the continuous coil into rectangular body blanks of the exact dimensions required for the target can size. For a 1L round can, the blank width corresponds to the can circumference plus the weld overlap allowance — typically 0.4–0.6 mm — and the blank height corresponds to the can body height.
Stage 2: Body Forming — Rolling the Cylindrical Can Body
The flat rectangular blank is formed into a cylinder by the body forming machine, which rolls the blank around a mandrel and brings the two long edges together to form the side seam joint.
- Blank feeding and alignment — the blank is precision-fed into the body former with the long edges aligned parallel to the forming axis. Edge guide systems ensure consistent positioning to within ±0.1 mm to achieve correct seam overlap on every cycle.
- Roll forming — forming rolls progressively bend the blank into a cylinder over a series of forming passes, bringing the two side edges into controlled overlap. For resistance seam welding, the overlap is typically set to 0.4–0.6 mm; for soldered or bonded seams in some specialty applications, wider overlaps are used.
- Roundness calibration — after forming, the cylinder passes through a calibration station that ensures the body is truly round and within the dimensional tolerance required for accurate end seaming. Out-of-round bodies cause leaking double seams at the base and top seaming stages downstream.
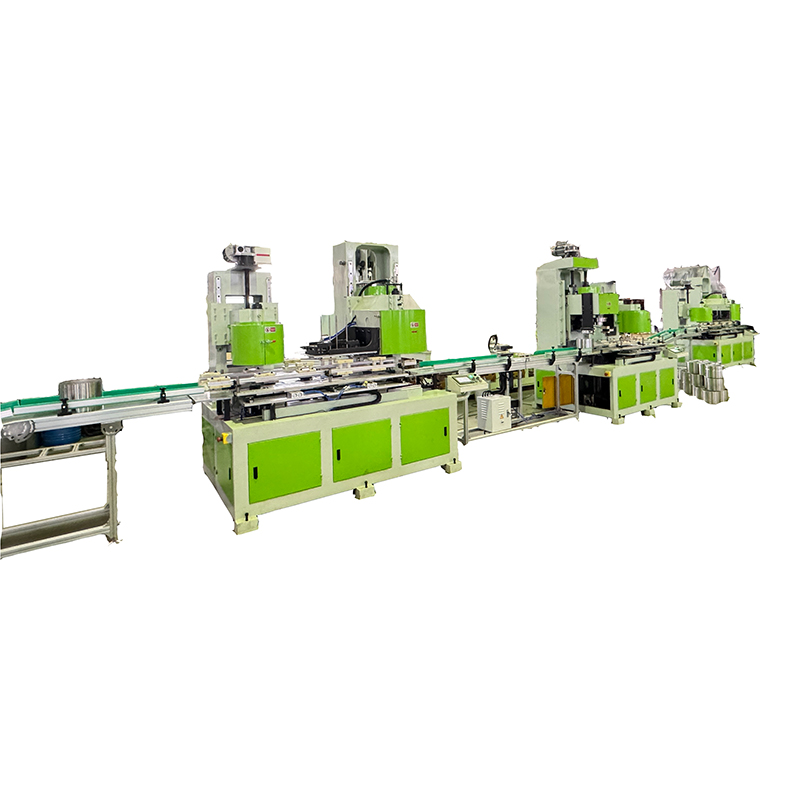
Stage 3: Side Seam Welding — Joining the Body Edges
Side seam welding is the most technically critical stage of the round can body production process. The quality of the side seam weld determines the structural integrity, pressure resistance, and leak-tightness of the finished can. Resistance seam welding is the dominant technology used on modern 1–5L can lines.
Resistance Seam Welding Process
The overlapping edges of the formed cylinder are fed between two rotating copper electrode wheels that pass high-frequency electrical current through the overlap zone while applying simultaneous mechanical pressure. The resistance heating melts and fuses the two layers of tinplate at the overlap interface, creating a continuous, hermetic weld bead along the full length of the side seam. Key welding parameters include:
- Welding current — typically 1,200–2,000 A depending on sheet thickness and welding speed. Too low produces cold (weak) welds; too high causes expulsion of molten metal, creating porosity and surface defects.
- Electrode wire — a continuously fed copper wire between the electrode wheel and the work piece carries current and prevents tin contamination buildup on the wheel surface that would cause weld inconsistency.
- Welding speed — production speeds on modern welders range from 20 to 60 m/min of seam length, corresponding to production rates of approximately 40–120 cans per minute depending on can body height.
Post-Weld Stripe Coating
Immediately after welding, the side seam weld zone is a strip of exposed bare steel on the can interior — the tin coating has been burned away by the welding heat. An inline stripe coating station applies a narrow band of interior lacquer (typically epoxy or polyester) over the weld seam, covering the full heat-affected zone — usually 6–10 mm wide centered on the weld. The stripe coat is then cured in an inline oven before the body proceeds to the next stage. Without this stripe coat, the bare weld zone would corrode rapidly in contact with most can contents.
Stage 4: Interior and Exterior Coating of the Can Body
After side seam welding, the can body cylinder passes through the main coating stations where interior and exterior coatings are applied to protect the metal from the contents and to provide the desired exterior appearance.
- Interior coating — epoxy, epoxy-phenolic, or polyester lacquer is spray-applied to the inside of the can body using automated rotating spray heads or electrostatic spraying systems. Coating weight is typically 4–8 g/m² dry film for standard chemical or paint can applications. Food-grade cans use specifically approved coating formulations. The coating prevents metal migration into the product and protects the tinplate from corrosive attack by acidic or alkaline contents.
- Exterior coating / varnishing — an exterior clear varnish or pigmented lacquer is applied over the printed exterior surface (or over bare tinplate if printing has not been applied at this stage) to protect the graphics from abrasion during handling and to provide gloss or matte finish as specified. Exterior coating weight is typically 2–4 g/m².
- Curing oven — the coated can bodies pass through a gas-fired or electric convection curing oven at temperatures of 180–220°C for a dwell time of 8–15 minutes to fully crosslink the coating. Undercured coating fails adhesion and chemical resistance requirements; overcured coating becomes brittle and cracks during subsequent flanging and beading.
Stage 5: Flanging, Beading, and Mechanical Strengthening
The cured can body then passes through mechanical forming stations that prepare it for end seaming and add structural reinforcement.
Flanging
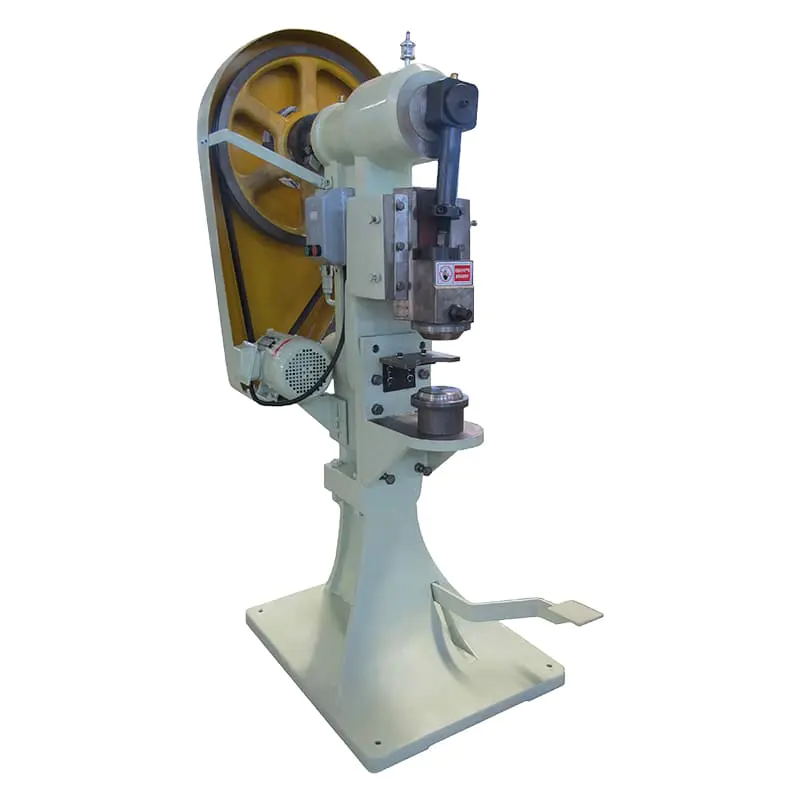
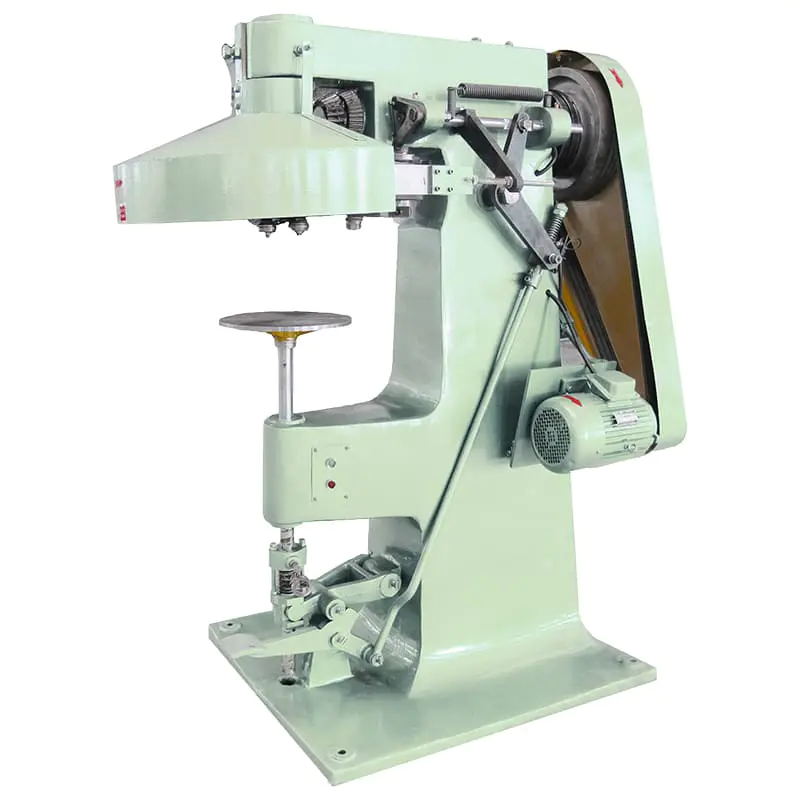
The top and bottom open edges of the cylindrical body are flanged outward by a flanging machine — typically a spinning or press-flanging station — creating a uniform outward flange of 2.0–3.2 mm width around the full circumference at both ends. This flange is the seaming surface onto which the circular end panels will be double-seamed. Flange width, angle, and consistency across the full circumference are critical dimensions that directly affect double seam quality at the end seaming stage.
Beading
For 2–5L cans — where the larger diameter creates a greater tendency for the cylindrical wall to deform under side pressure or vacuum — the can body passes through a beading machine that rolls one or more circumferential horizontal ribs (beads) into the body wall. These beads function as structural stiffening rings, increasing the can's resistance to side-wall buckling under stack loads by 30–50% compared to an unbeaded body of the same material thickness. The number and position of beads is determined by the can diameter, wall thickness, and the expected top-load requirements.
Stage 6: Bottom End Seaming
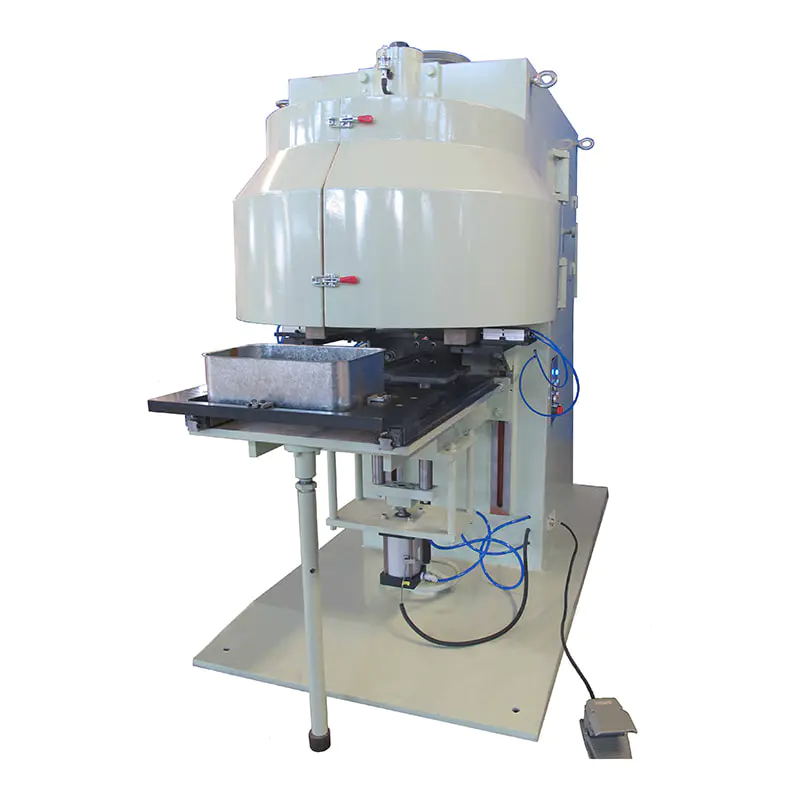
The bottom circular end panel is joined to the can body by double seaming — the same technology used in food can manufacturing and one of the most reliable metal joining methods known for creating hermetic container seals.
- End panel feeding — pre-formed circular bottom end panels (which may be produced on a separate end-making line or purchased pre-made) are fed automatically into the seaming machine and positioned against the flanged bottom of the can body.
- First operation seaming — the first seaming roll hooks the end panel curl over the body flange, beginning the interlocking fold.
- Second operation seaming — the second seaming roll tightens and compresses the folded seam to the specified dimensions, pressing the sealing compound (applied to the end panel curl during end making) into the seam to create a hermetic seal. The finished double seam typically has a width of 2.6–3.2 mm and a thickness (tightness) that must be within ±0.1 mm of specification to ensure both structural integrity and leak-tightness.
- Seam quality verification — seam dimensions are checked by teardown analysis of sample cans at defined intervals (typically every 30–60 minutes per seaming head), measuring body hook, end hook, overlap, and tightness against specification limits.
Stage 7: Quality Inspection, Testing, and Palletizing
Finished cans leaving the seaming station pass through quality inspection systems before being accumulated for palletizing or direct transfer to a filling line.
- Leak testing — finished cans are pressurized internally (typically to 0.3–0.5 bar) and passed through a water bath or soap-solution spray station. Air bubbles at the side seam or base seam indicate a sealing defect and the can is automatically rejected. Some lines use electronic pressure-decay leak testers as a dry alternative to water-bath testing.
- Visual and dimensional inspection — automated machine vision systems scan each can for dents, surface scratches, coating defects, label misregistration, and physical deformation. Dimensional gauges check can height and diameter against specification.
- Coating integrity check — periodic sampling of cans for interior coating porosity (using electrolytic enamel rater testing) confirms that the interior coating provides the required barrier coverage. Acceptable porosity levels are typically below 30–50 mA for standard chemical cans.
- Palletizing — approved cans are conveyed to an automatic palletizer that stacks them in defined layer patterns onto pallets, adds interlayer sheets, and wraps the completed pallet in stretch film for shipment to the filling operation or warehouse.
Production Process Summary by Stage
| Stage |
Operation |
Key Equipment |
Critical Quality Parameter |
| 1 |
Coil feeding and blanking |
Decoiler, leveler, shear/press |
Blank dimensions ±0.2 mm; flatness |
| 2 |
Body forming (rolling) |
Body former, calibration station |
Seam overlap 0.4–0.6 mm; roundness |
| 3 |
Side seam welding + stripe coat |
Resistance welder, stripe coater, mini oven |
Weld current stability; stripe coat width and cure |
| 4 |
Interior and exterior coating |
Spray coating station, curing oven |
Coating weight 4–8 g/m²; peak metal temp 180–220°C |
| 5 |
Flanging and beading |
Flanging machine, beading machine |
Flange width 2.0–3.2 mm; bead uniformity |
| 6 |
Bottom end seaming |
Double seamer (2-operation) |
Seam width, overlap %, hook lengths, tightness |
| 7 |
Inspection, testing, palletizing |
Leak tester, vision system, palletizer |
Zero leaks; coating porosity <50 mA |
Complete 1–5L round can production process summary showing each stage, key equipment, and the critical quality parameter that governs output conformance.


 +86 13666712509

 English
 русский
 عربى
عربى


Contact Us